Ballerina nails have been a popular shape for quite some time now, as they are both feminine and elegant. They come in many different shapes and sizes, from square to almond-shaped. This blog will give you the steps on how to get ballerina nail shape!
What is Ballerina Nail Shape?
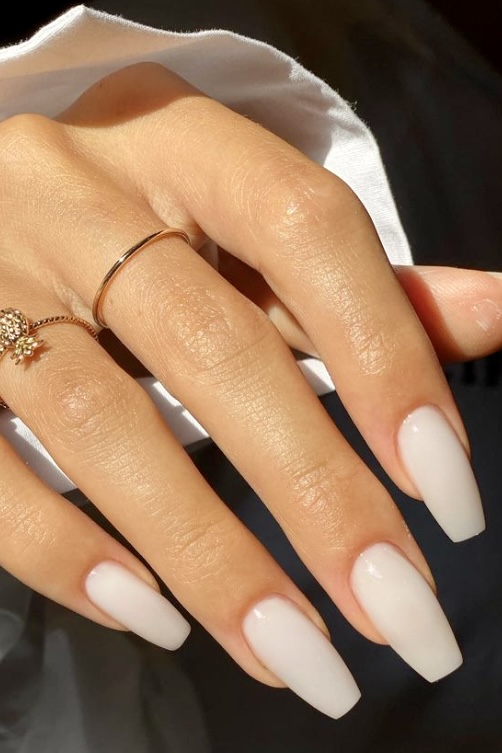
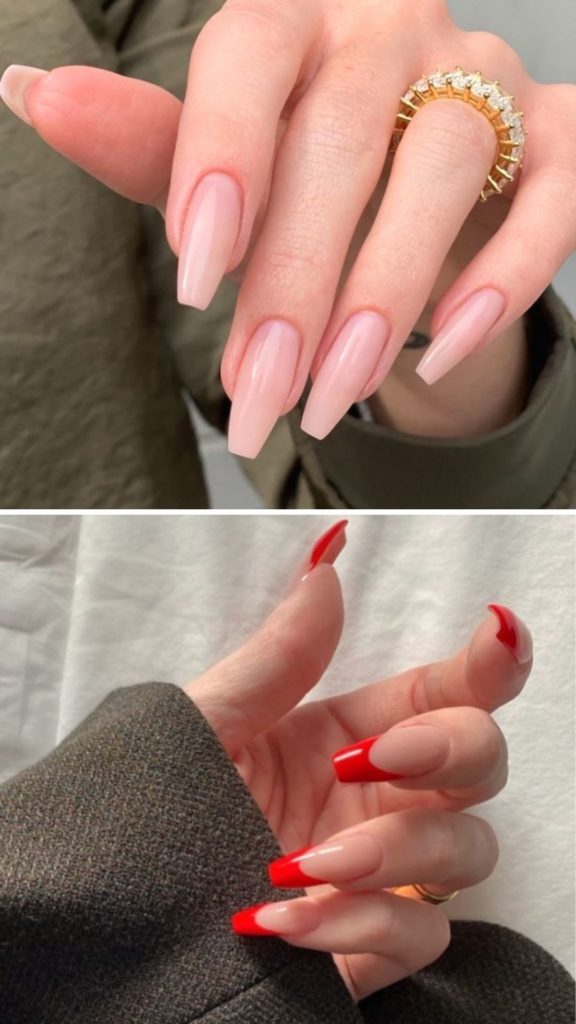
If you’ve been a fan of the classic almond nail shape, it’s time to try something new. The ballerina nail is an emerging trend in many salons across America and for good reason. It’s reminiscent of a French manicure but with more pizzazz!
The ballerina nails are gradually get shorter as they approach the cuticle line. A small round dot or two can be added on either side of the nail to add dimension and interest. This look is perfect for summer because you can wear any color polish you want without worrying about ruining your design when things heat up!
In the past, ballerina nails were reserved for special occasions. But now they are a hot trend in nail shapes and designs. If you want to stand out from the crowd this season, try styling your nails with a beautiful ballerina shape! Get your hands on this adorable style with these simple steps!
Shop OPI GelColor, CND Shellac, and other gel polishes for the best prices
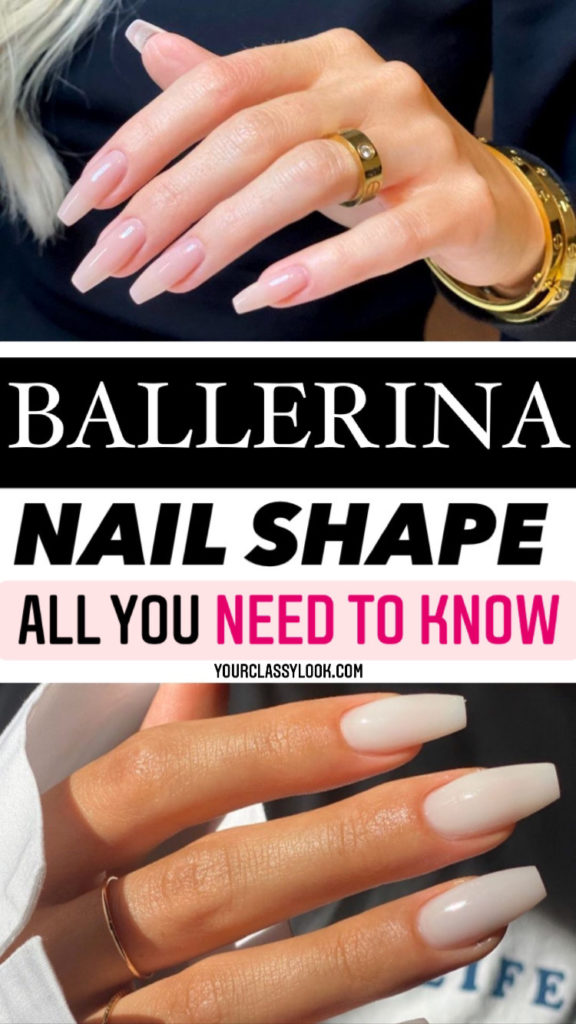
How to Get the Perfect Ballerina Nail Shape?
If you are looking for a shape that is unique and still simple, then ballerina nails are the right choice. Ballerina nails have several names because of their many attributes: French manicure with long points, coffin shaped nail or stiletto. To get this style all you need to do is follow these steps below!
Step One: Start by clipping your nails down to a desired length. For coffin nails, you will want them to be slightly longer than normal.
Step Two: File your nails into the desired shape. For ballerina nails, you will want to file them into a point. Use a nail file to shape the tips of your nails into a point. Be sure to file in one direction only (either towards the center or away from the center) in order to achieve this look.
Step Three: Use an emery board or emory board, also known as nail buffer, to smooth out any uneven edges of your nails after filing them. You will need to use long strokes in order for this step not to disrupt your newly created ballerina shape.
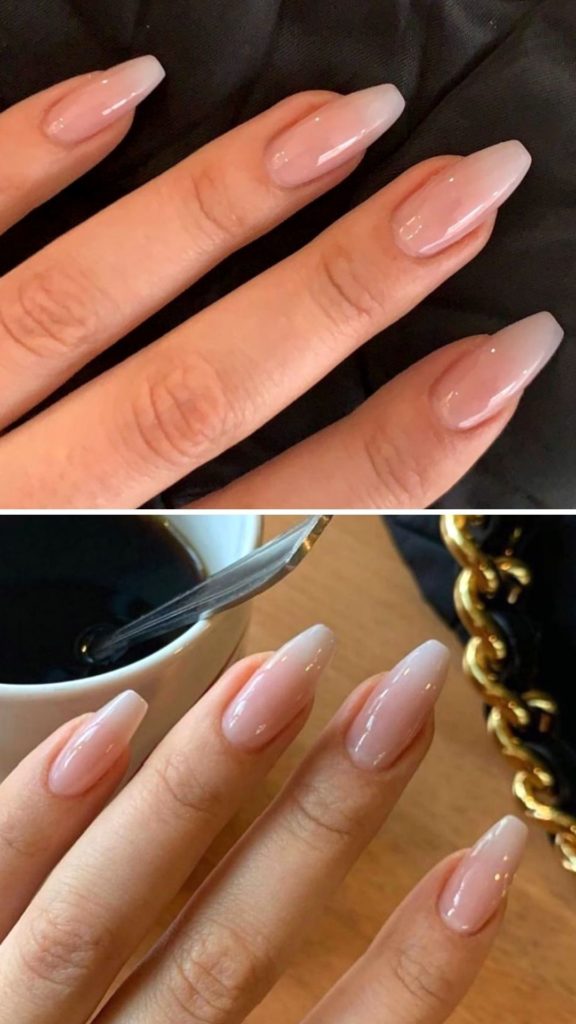
Step Four: Apply a base coat of polish to your nails and allow it to dry, then apply a clear or pale pink nail polish to your nails and allow the nails to dry completely before applying any additional products (such as top coat).
Step Five: Finish off the look by applying a top coat of clear nail polish. This will help keep your nails looking shiny and polished all day long!
You now have your desired ballerina nail shape! If you want to change up the look of your ballerina nails, you can also try a different nail polish color. Be sure to choose a color that will complement the shape of your nails and make them look even more polished!
Subscribe to my Free Newsletter below. I will keep you updated with the latest fashion & beauty trends every season.