Rainbows are always a source of joy and happiness, so why not bring that into your nails? Rainbow colors are the perfect way to add some fun and brightness to your nails! In this blog post, we will show you 30 cute rainbow nails and how to create a nail art design with rainbow colors.
This trend is all the rage right now, and it’s easy to do at home. Rainbow nail art is one of the most fun and festive styles you can do for your nails. It’s perfect for any time of year, but especially in spring, as spring season is a time for new beginnings, and there’s no better way to welcome the new season than by giving your nails a fresh new look!
You can try rainbow French tips for a fun and playful look, or rainbow gradient that is perfect for adding some color to your nails. If you want a more subtle rainbow look, try using just a few colors on your nails. The possibilities are endless when it comes to rainbow nails! So whether you’re looking to add some brightness to your life or just want something new to show off on your nails, these rainbow nails will do the trick!
How to Create Rainbow Nails
In this step-by-step guide, we will show you how easy it is to create your very own rainbow nails. You only need a few supplies, and we will give you all of the tips and tricks you need to make them look amazing. So get ready to have some fun with your nails!
Supplies:
– Nail polish in various colors (we used red, orange, yellow, green, blue, and purple)
– A toothpick or thin brush
– Tape (optional)
Step One: Prep your nails. Start by cleaning and shaping your nails how you normally would. Apply a base coat to protect your nails. We suggest using a clear coat so that the colors will be brighter. Let the base coat dry completely before moving on to the next step.
Step Two: Choose your rainbow color scheme. Decide which order you want the colors to go in and then paint each nail with the corresponding color. You can use any order you like, but we suggest starting with the lightest color and then moving to the darkest.
Step Three: Paint the tips of your nails. Once all of your nails are painted, use a toothpick or thin brush to paint the tips of your nails in a contrasting color. We would use pastel colors for our tips, but you can choose any color you like. Let this coat dry completely before moving on to the next step.
Step Four: Seal in your look. Finally, apply a topcoat to protect your nail polish and help it last longer. Again, we suggest using a clear coat so that the colors will be brighter. Let the topcoat dry completely before putting anything else on your hands. You’re now ready to show off your rainbow nails!
If you want to get in on the trend, check out these 30 fun rainbow nail art designs that will have you looking like a spring goddess! From bright and bold to soft and subtle, there’s a look for everyone.
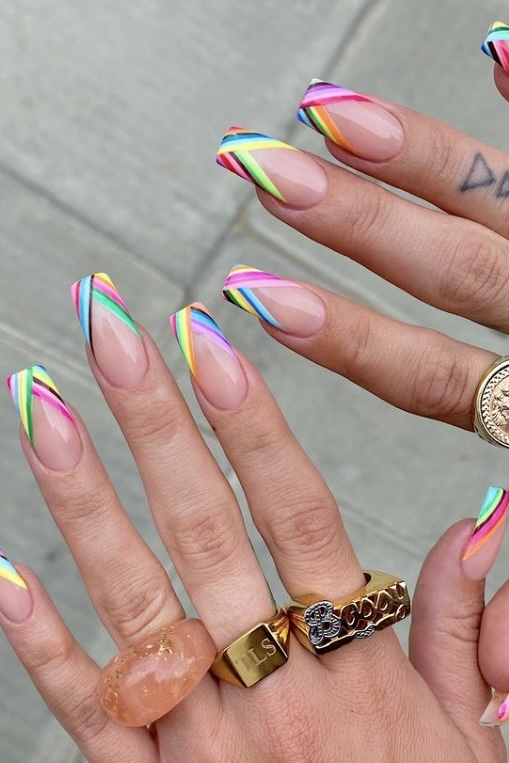
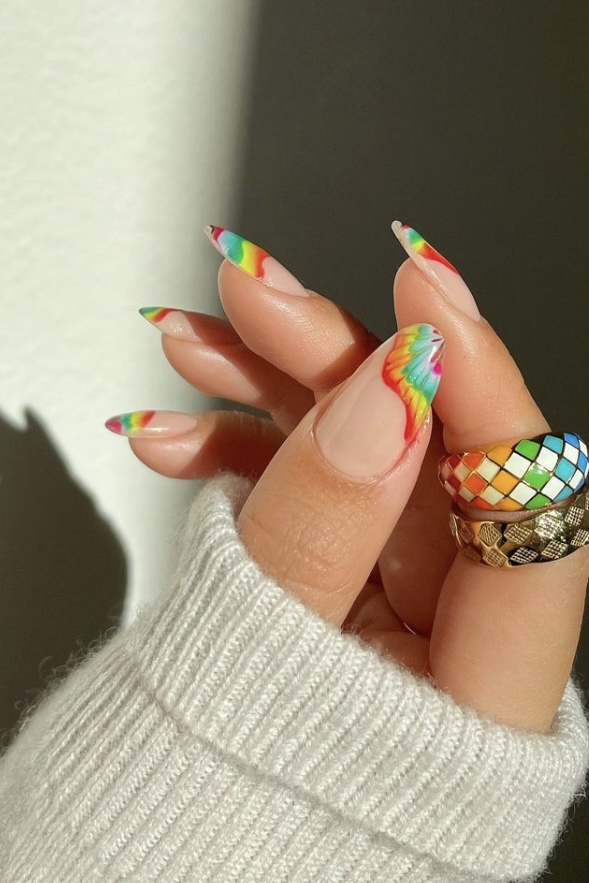
Bright Abstract
@heluviee
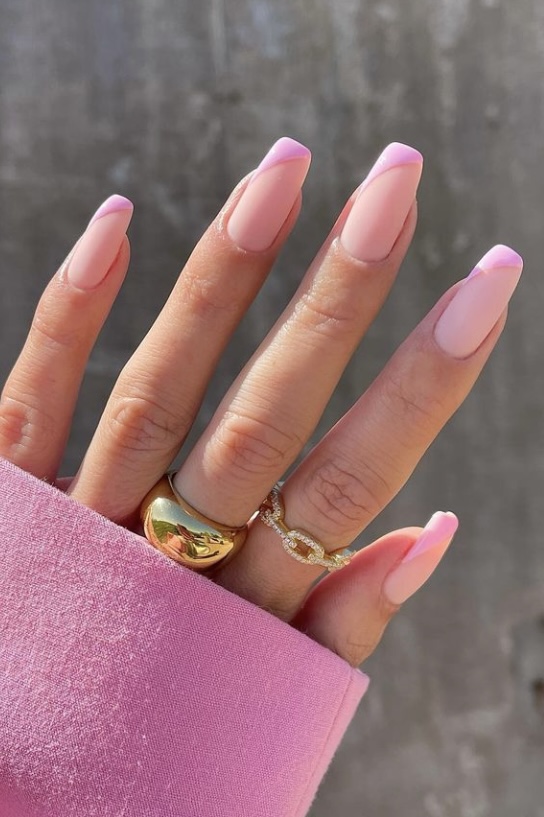
Side French
@heluviee
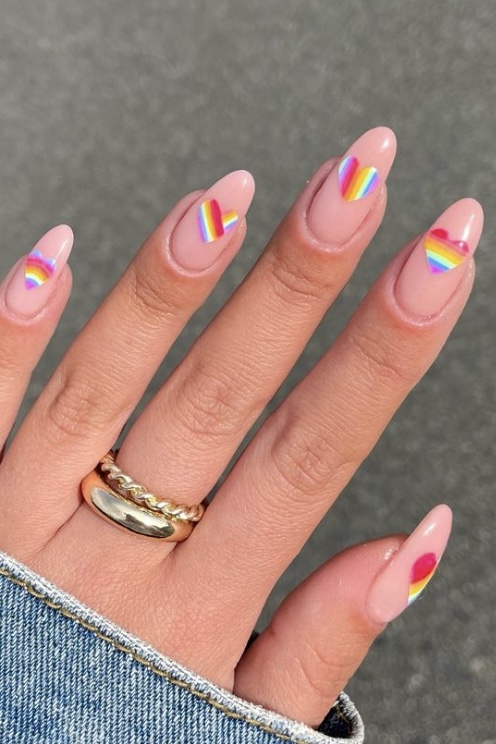
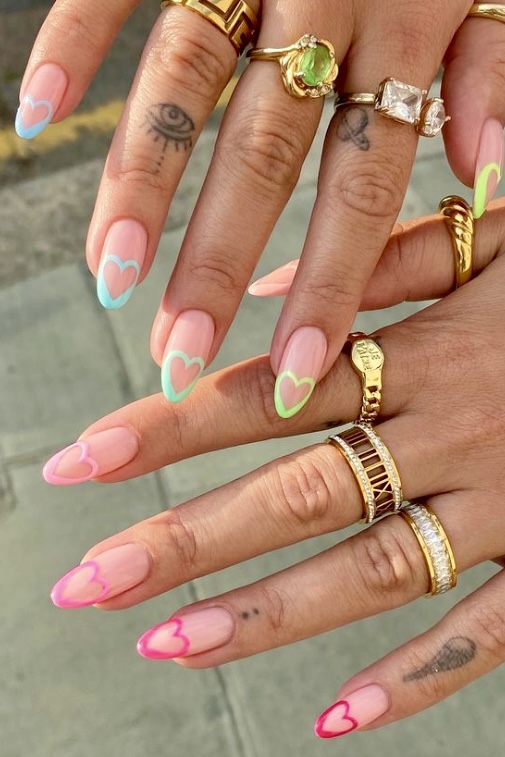
Rainbow Hearts
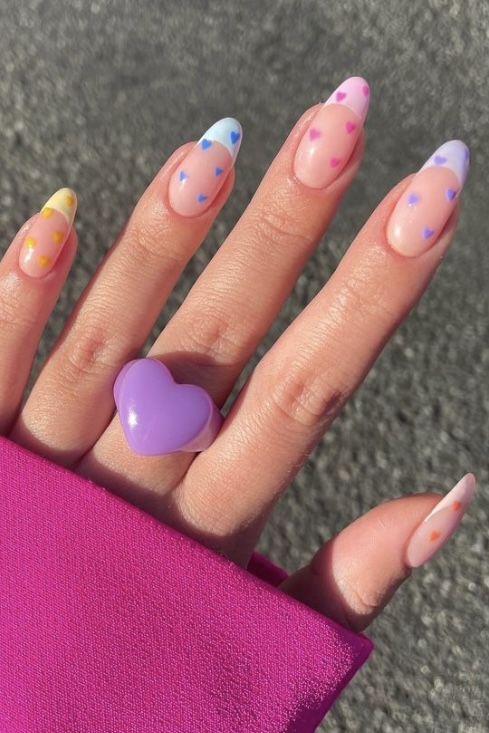
@naileditbeauty
Rainbow Drips
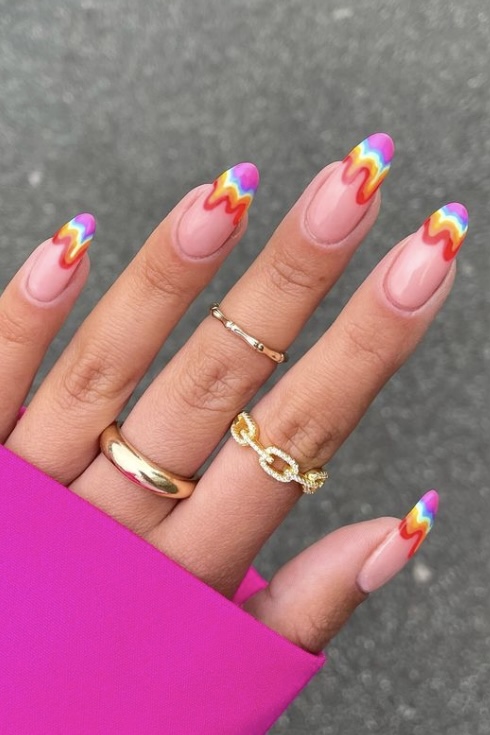
@naileditbeauty
Vibrant Hearts
@naileditbeauty
Negative Space
@gelsbybry
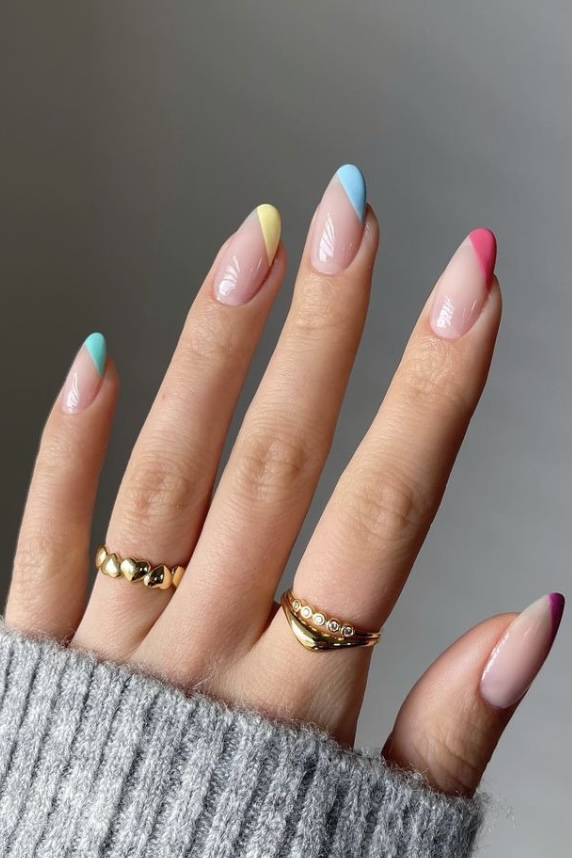
Funky French

@gelsbybry
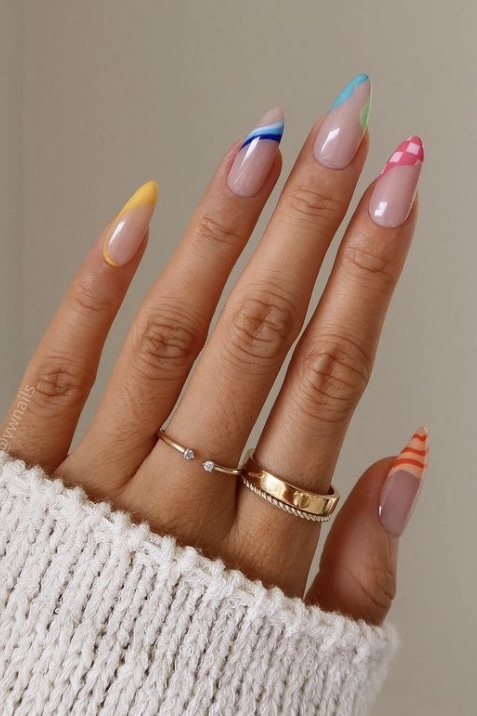
Color Accents
@gelsbybry
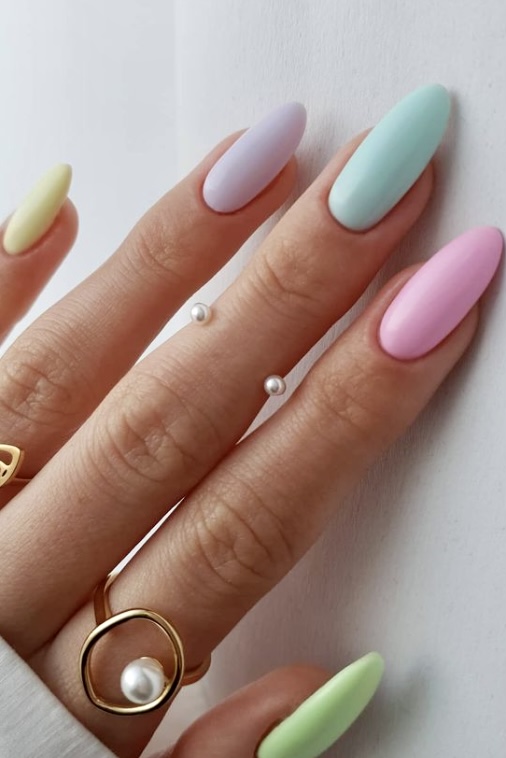
Pastel Tips
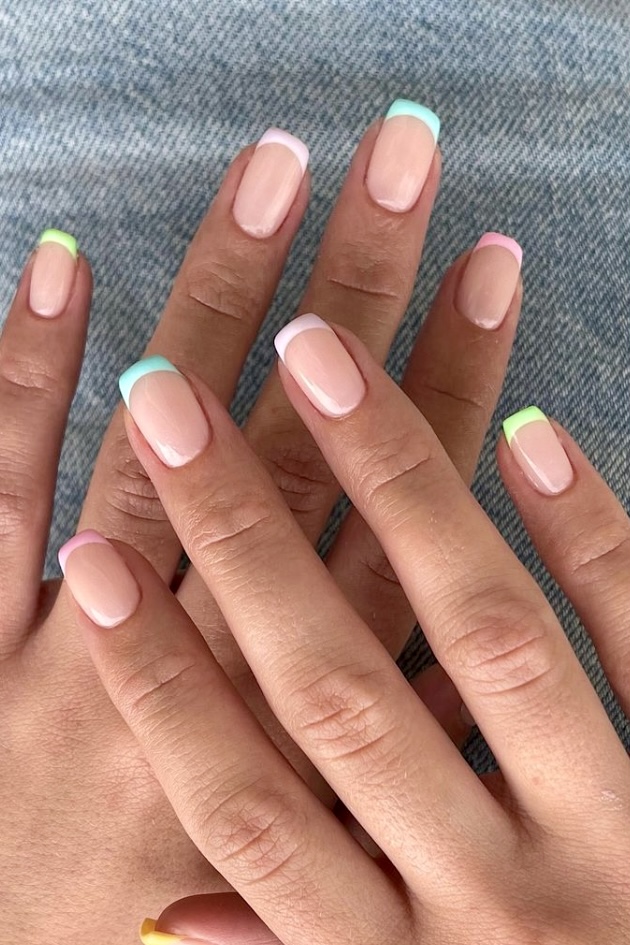
@gelsbybry
Double French
@gelsbybry
Cute Hearts
@anouskaanastasia
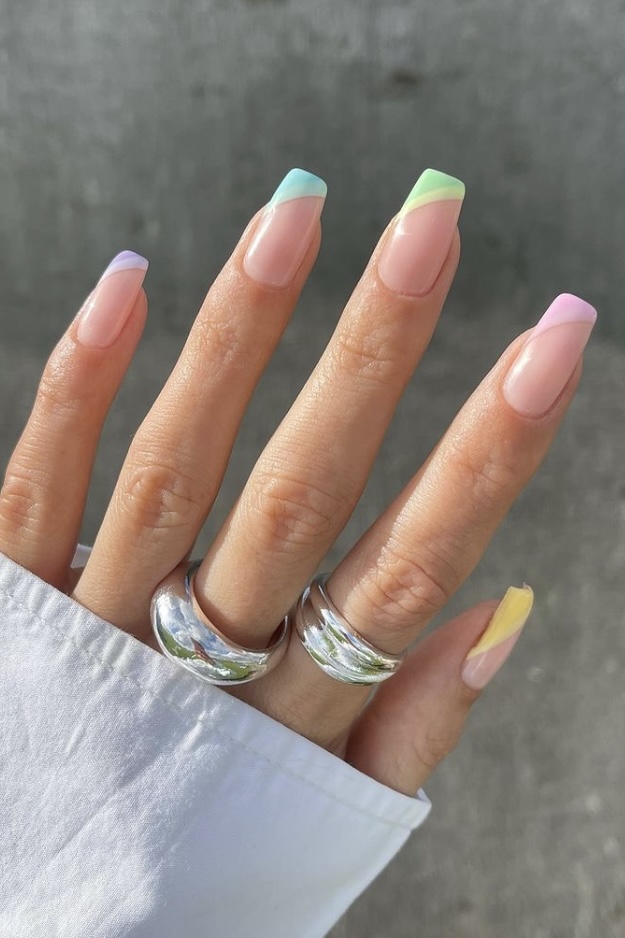
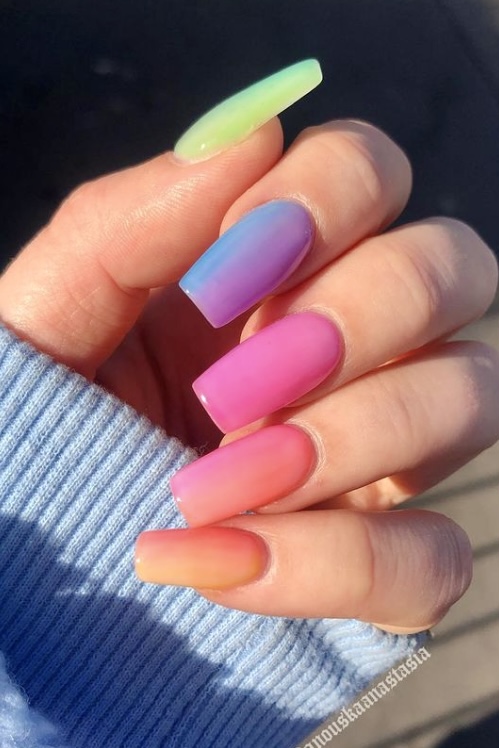
Ombre Tips
@anouskaanastasia
Triangle French
@anouskaanastasia
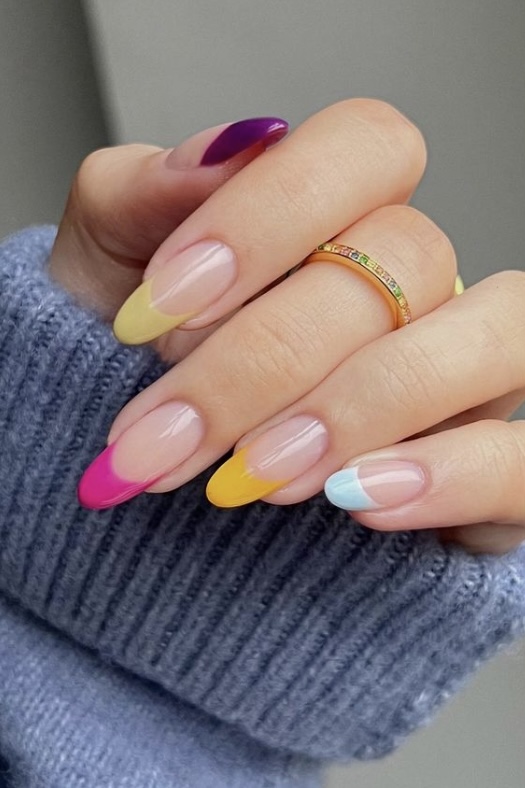
Rainbow Ombre
@anouskaanastasia
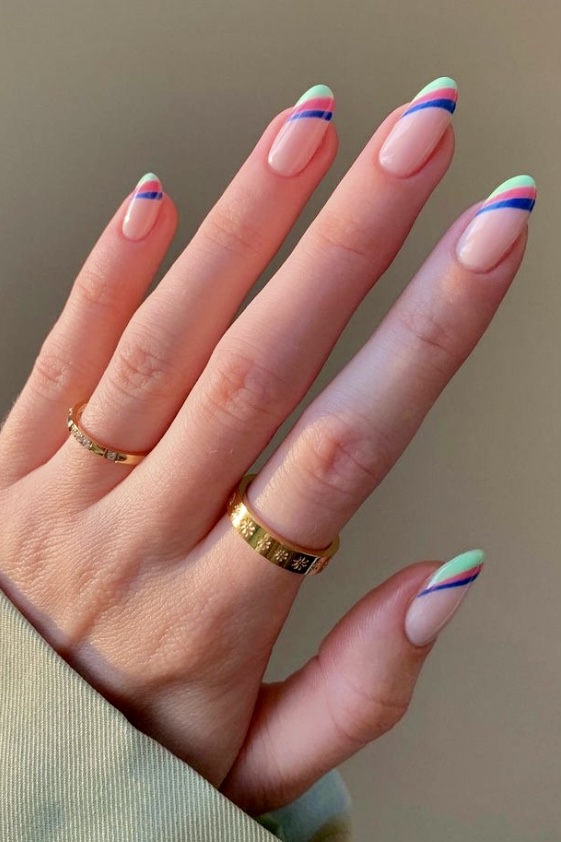
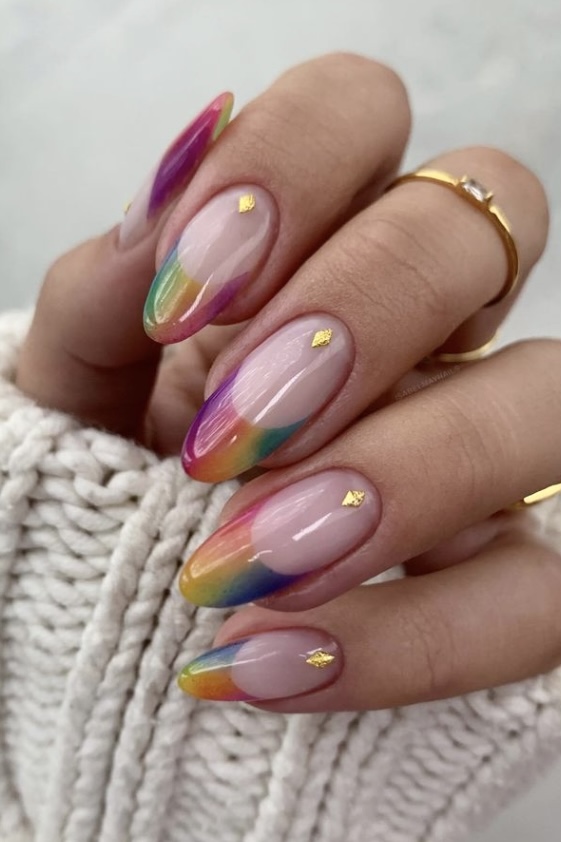
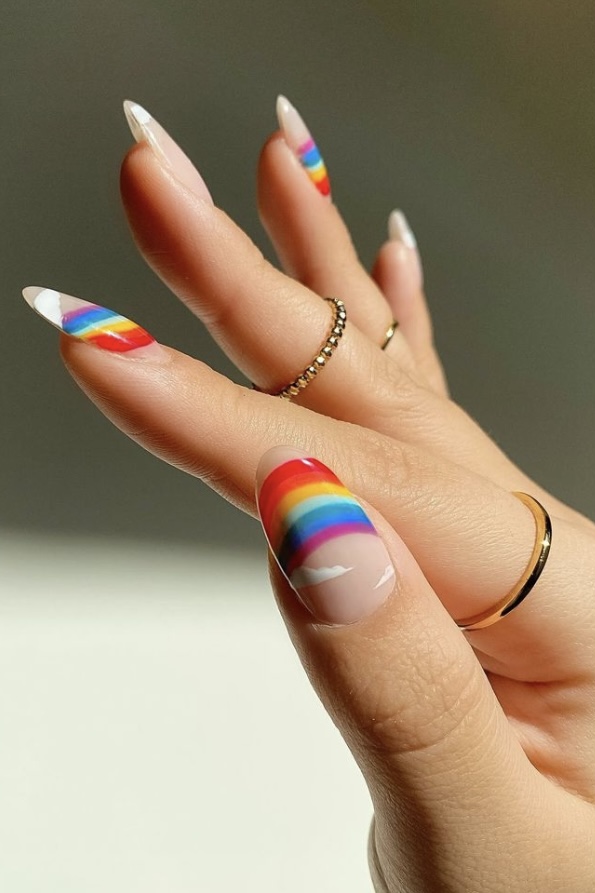
Rainbow Tips
@amberjhnails
Cute Doodles
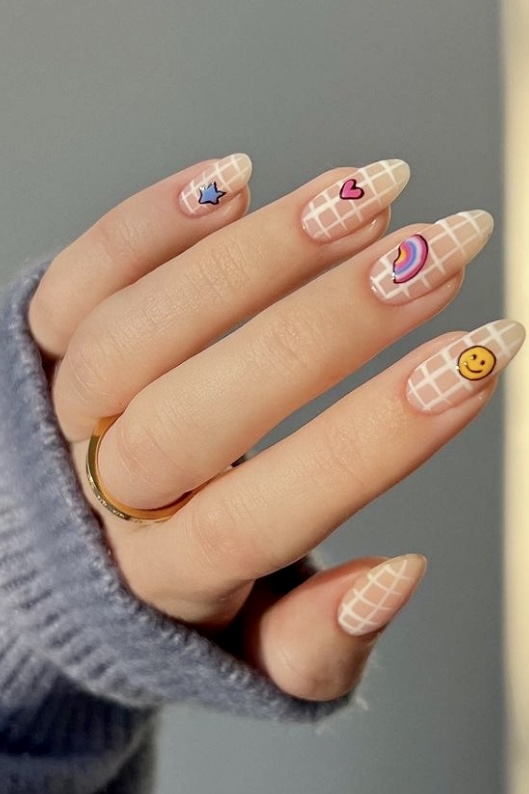
@amberjhnails
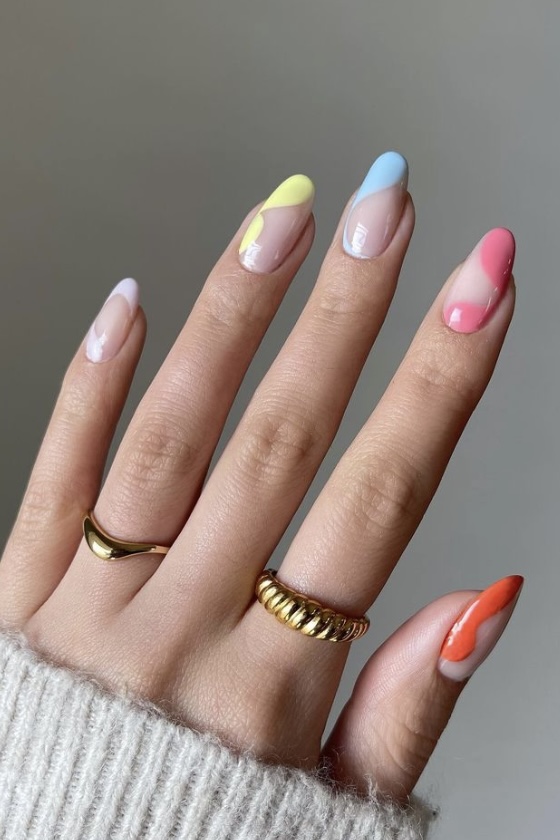
Summer Waves
@amberjhnails
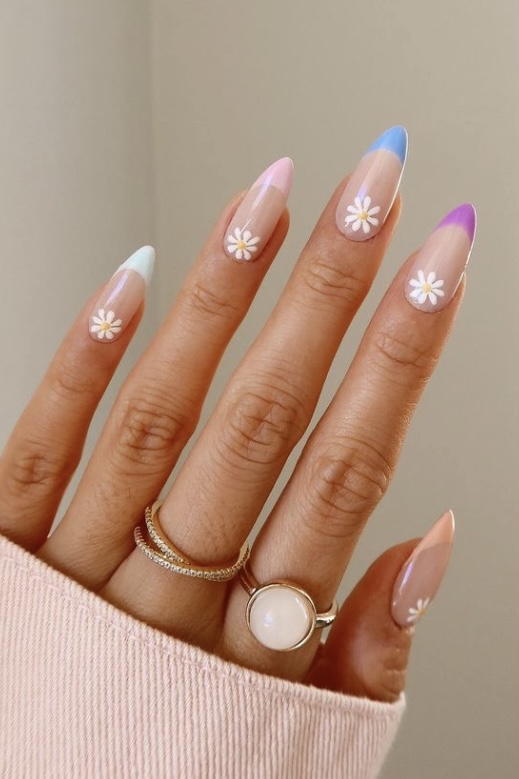
Rainbow Daisies
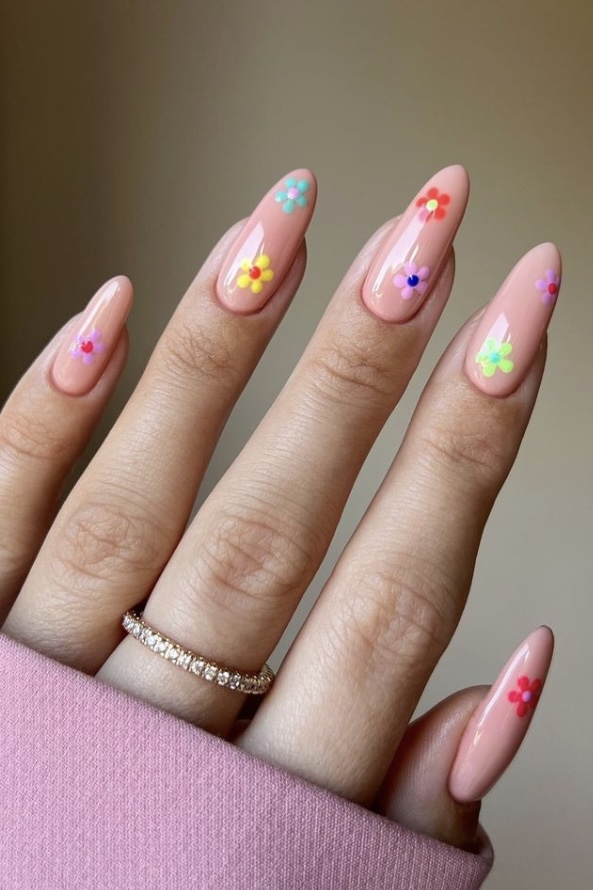
@tiffanyabigailebeauty
Funky Mix
@tiffanyabigailebeauty
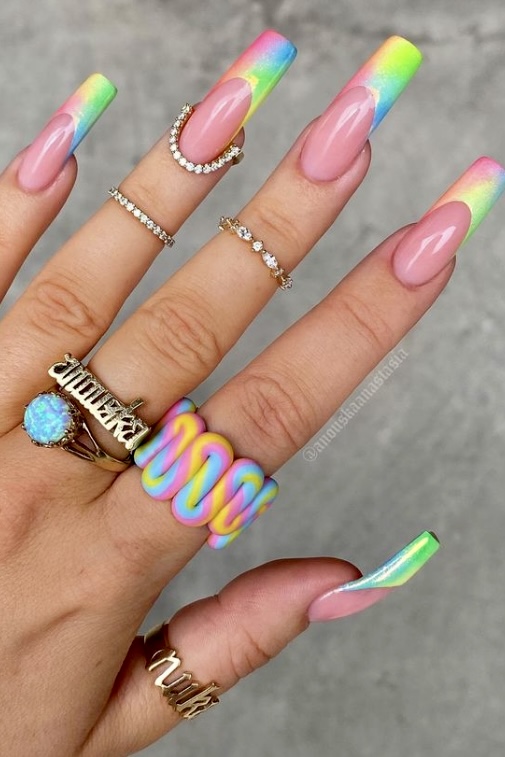
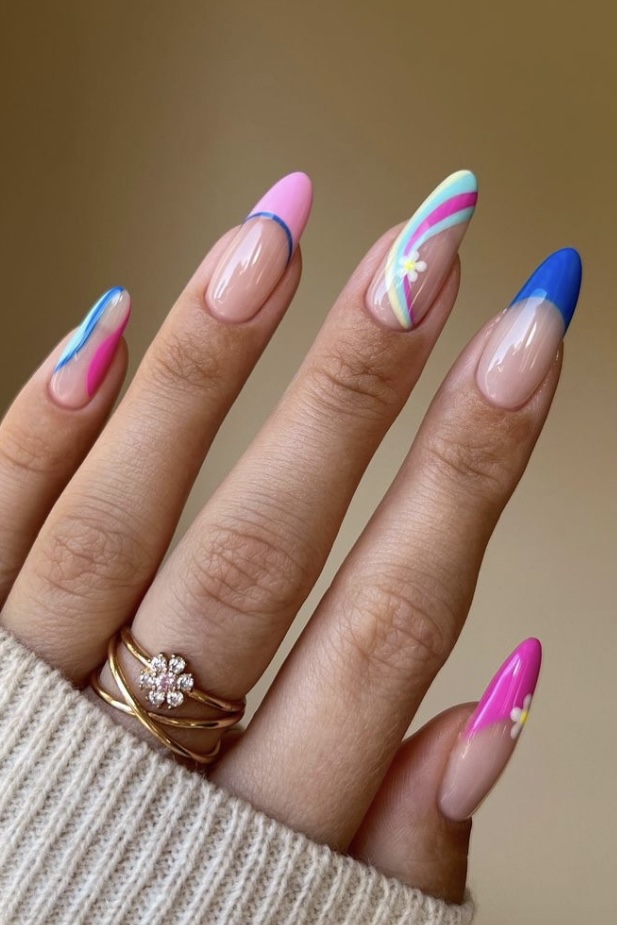
Rainbow Swirls
@thehotblend
Rainbow Skittles
@thehotblend
Rainbow Borders
@thehotblend
Gold Details
@isabelmaynails
Jelly Rainbow
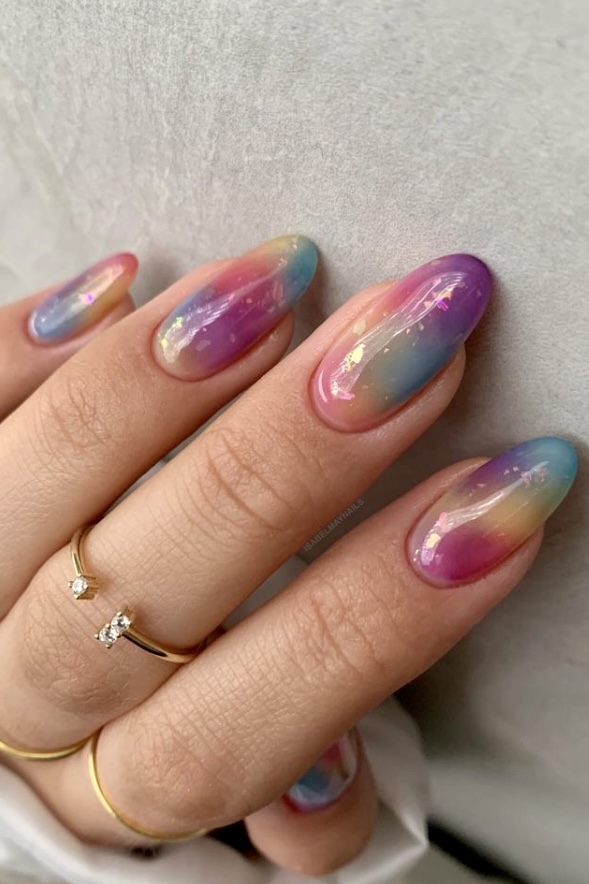
@isabelmaynails
Rainbow Accents
@amyle.nails
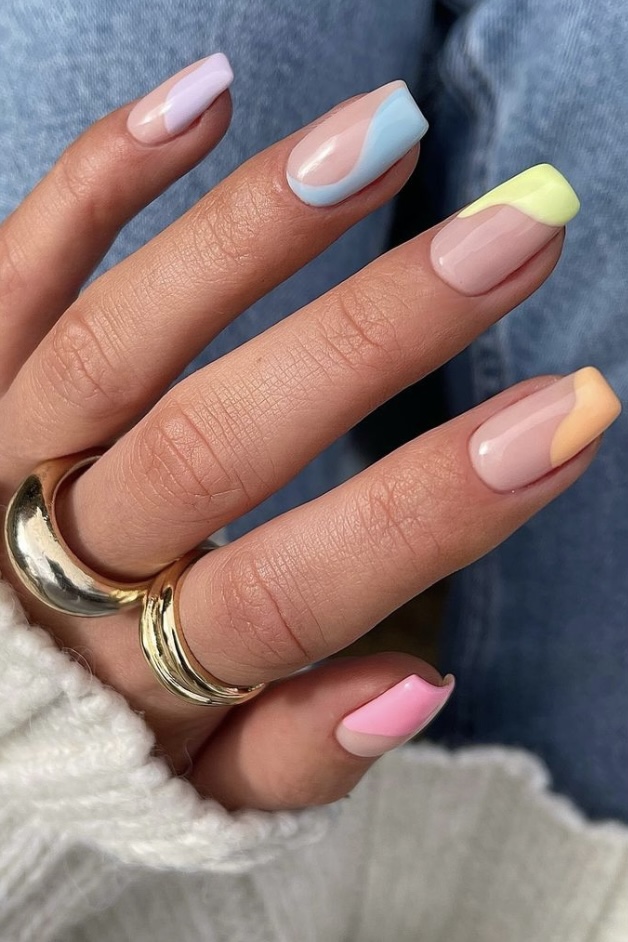
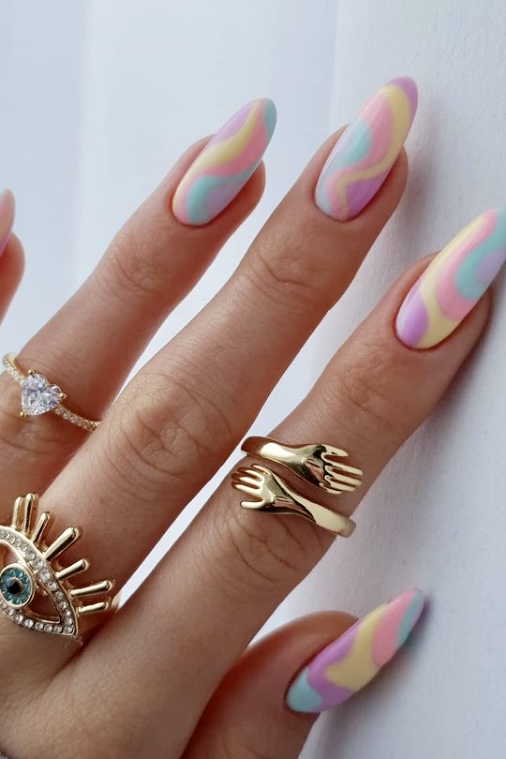
Pastel Abstract
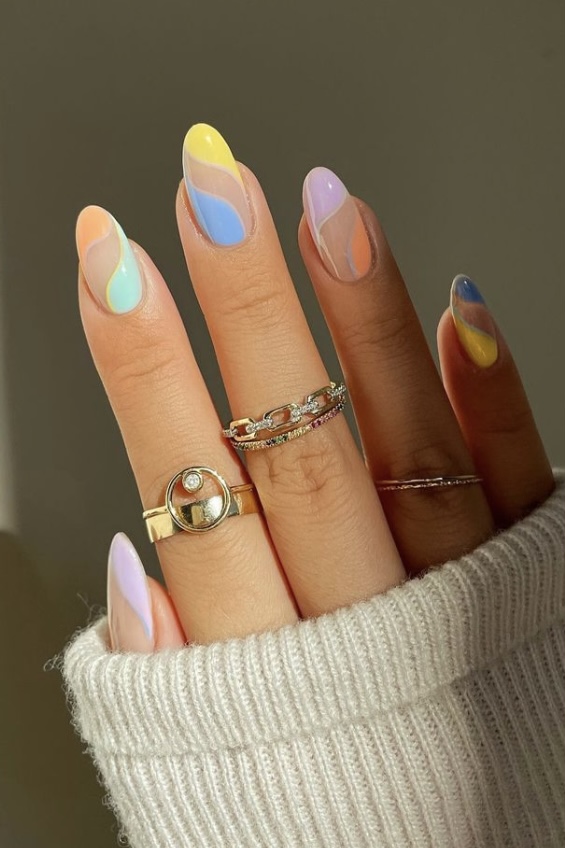
@amyle.nails
Summer Vibes
@amyle.nails
French Mix
@vwnails_
Tips & Daisies
@vwnails_
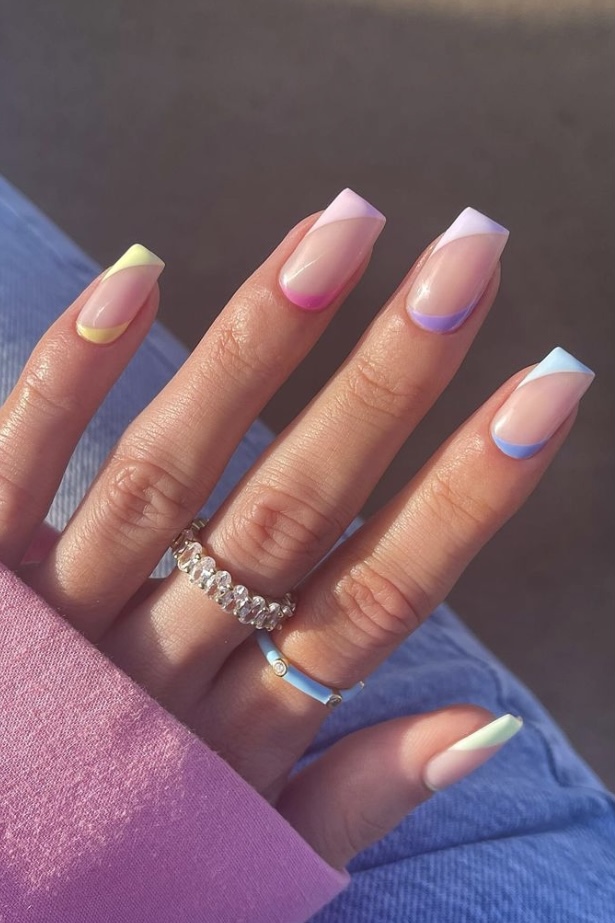
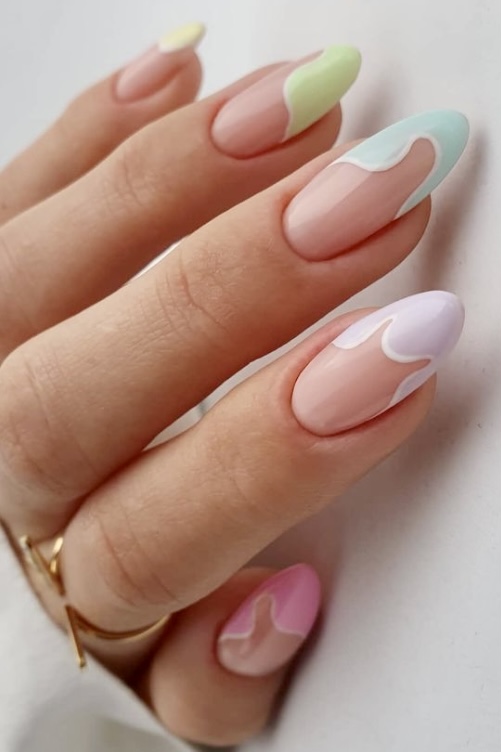
Pastel Waves
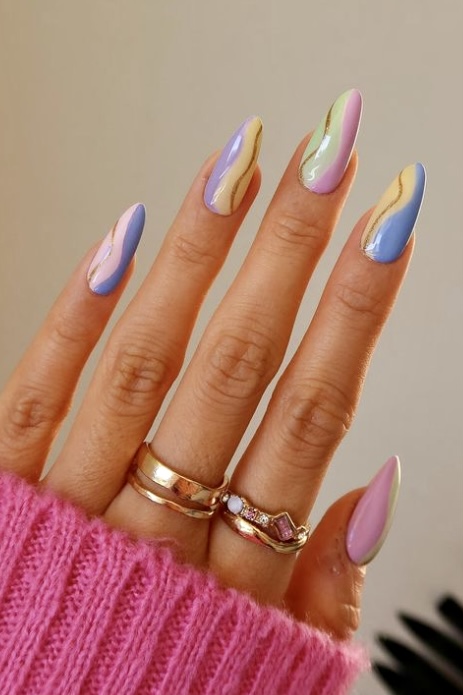
@vwnails_
Subscribe to my Free Newsletter below. I will keep you updated with the latest fashion & beauty trends every season.