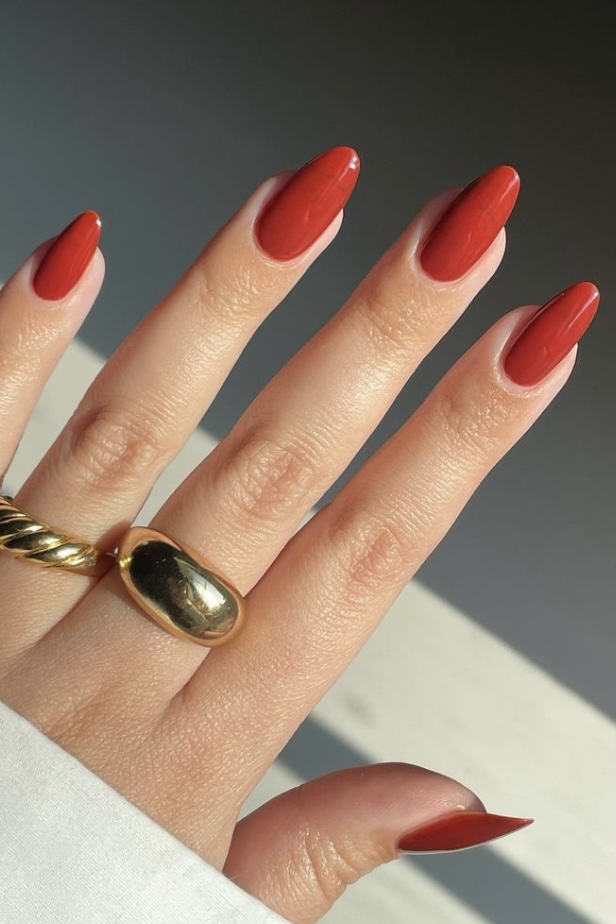
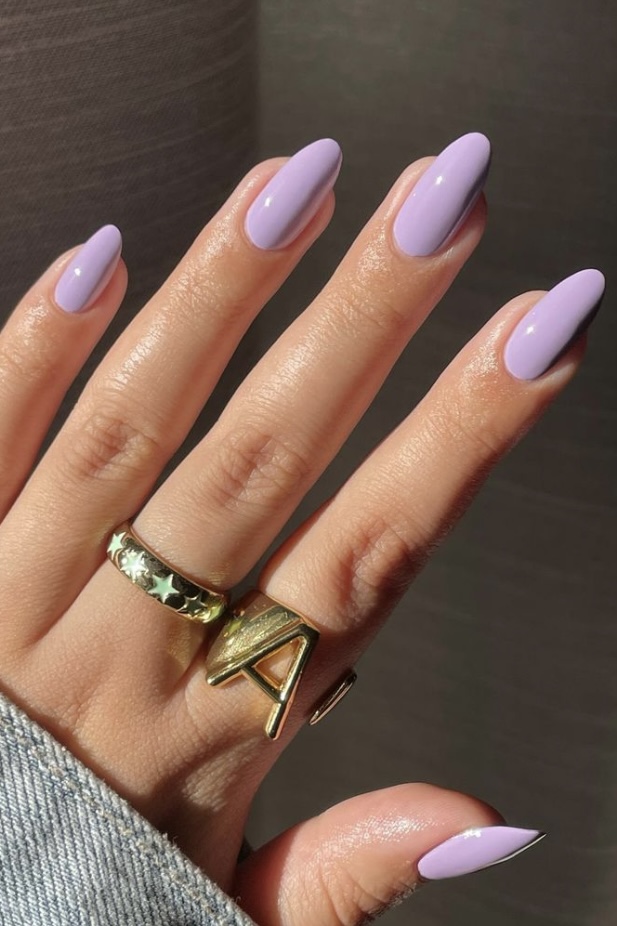
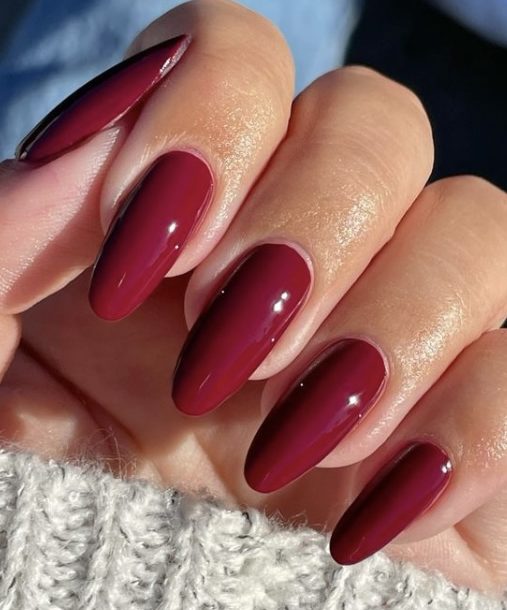
Shellac nails are all the rage right now. They are strong, shiny, and long-lasting. If you want to know how to shellac nails like a pro, you have come to the right place! In this blog post, we will teach you everything you need to know about shellac nails. We will talk about what they are, how to apply them, and how to remove them. We will also discuss the pros and cons of shellac nails so that you can decide if they are right for you. Let’s get started!
What are Shellac Nails?
Shellac nails are growing in popularity, and more and more women are choosing this type of manicure over traditional nail polish. Shellac nails are a type of nail polish that is applied to the nails using UV light. They are similar to regular nail polish, but they have several advantages: they last longer, they don’t chip as easily, and they don’t need to be filed down as much.
Benefits of Shellac Nails
If you’re thinking about getting Shellac nails, be sure to read up on all the benefits and drawbacks before making your decision. Keep in mind that while Shellac nails look beautiful, they require more maintenance than regular nail polish. So if you’re not someone who is meticulous about taking care of their nails, then Shellac may not be the right choice for you. There are several benefits to getting Shellac nails:
-They last longer than traditional nail polish
-Shellac nails last for two to three weeks without chipping or peeling
-They don’t need to be filed down as much as traditional nail polish
-The color selection is vast, and there are many different styles to choose from

The Cons of Shellac Nails
Shellac nails have both pros and cons. On the plus side, they last longer than traditional nail polish, they don’t chip as easily, and they don’t need to be filed down as much. However, they are more expensive than traditional nail polish, and they require a special type of remover that can be hard to find.
-Shellac nails require a UV light to cure that is not always available at home
-Shellac nails can sometimes chip or peel more than some other types of nail polish like gel nails
-Shellac nails can be more expensive than traditional nail polish, depending on where you go to get them done
How to Get Shellac Nails
If you want to get Shellac nails, you will need to go to a salon that offers this service. The process of applying Shellac nails is a bit more complicated than applying regular nail polish, so it’s best to leave it to the professionals. The cost of getting Shellac nails will vary depending on the salon, but it will likely be more expensive than getting your nails done with regular nail polish.
How to Apply Shellac Nails
Applying shellac nails is not difficult, but it does require some patience and practice. In this step-by-step guide, we will walk you through the process of applying shellac nails at home. To apply shellac nails, you will need:
-Shellac nail polish
-UV light
-Nail buffer
-Nail file
-Cuticle clipper
-Cuticle pusher
-Orange stick
-Clear top coat (optional)

Step One: Buff and Shape the Nails
Begin by buffing your nails with a nail buffer. Be sure to smooth out the surface of the nail and remove any ridges or imperfections. Next, use a nail file to shape your nails into the desired style. Keep in mind that shellac nails can only be filed in one direction – from the cuticle to the free edge. Do not file them back and forth or you will damage the polish. If you need to shorten your nails, use a cuticle clipper to cut them straight across. Do not file the corners or you will remove the shellac.
Step Two: Remove any Cuticles
Use a cuticle clipper to clip any excess cuticles that may be hanging over the edge of your nails. If you have very long cuticles, use a cuticle pusher to push them back and then use an orange stick to clean up any remaining bits. Be gentle – do not force any pieces of skin off.
Step Three: Apply a Base Coat of Shellac
Next, apply a coat of shellac polish to each nail. Make sure to brush it on evenly and avoid creating any bubbles or streaks. Let it dry for two minutes before moving on to the next step.
Step Four: Apply the First Coat of Colour
Choose your desired colour and apply one coat to each nail. Again, make sure to brush it on evenly and avoid creating any bubbles or streaks. Let it dry for two minutes before moving on to the next step.
Step Five: Apply a Second Coat of Colour
Once the first coat of color has dried, apply a second coat. This will help ensure that your nails have an even finish and that the color is fully opaque. Let it dry for two minutes in a UV lamp before moving on to the next step.
Step Six: Apply a Top Coat of Shellac
Finally, apply a top coat of shellac polish to each nail. Make sure to brush it on evenly and avoid creating any bubbles or streaks. Let it dry for two minutes before moving on to the next step. Your nails should now be fully coated in Shellac and will last for up to two weeks! Enjoy your beautiful, long-lasting nails!

How to Remove Shellac Nails
Removing Shellac nails is a bit more complicated than removing regular nail polish. You will need to use a special remover, which can be purchased at most drugstores. Be sure to follow the instructions on the bottle carefully, as you don’t want to damage your nails in the process. Another way to get shellac nails removed is to go to a salon and have them do it for you.
Subscribe to my Free Newsletter below. I will keep you updated with the latest fashion & beauty trends every season.

