There’s nothing like sporting a perfect French manicure to make your nails look extra polished and chic. If you’re looking to learn how to gel French manicure, you’ve come to the right place. In this blog post, we will walk you through the steps necessary to create beautiful nails in just a few easy steps. We will also provide tips and tricks that will help make the process easy and hassle-free. So whether you’re a beginner or an experienced nail artist, this tutorial is for you!
To Create Gel French Manicure, You’ll Need:
-Base coat. It’s important to use a good base coat before applying any type of polish, and this is especially true for gel french manicures. Look for a base coat that is designed to strengthen nails and help prevent chipping.
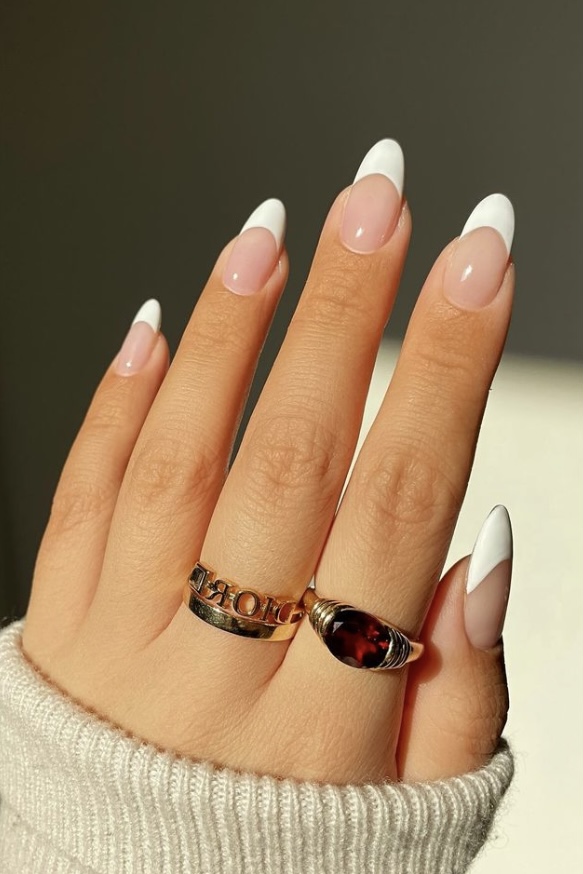
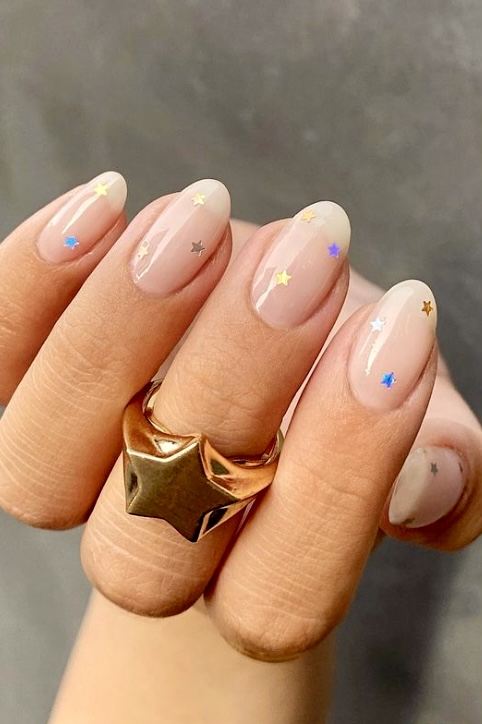
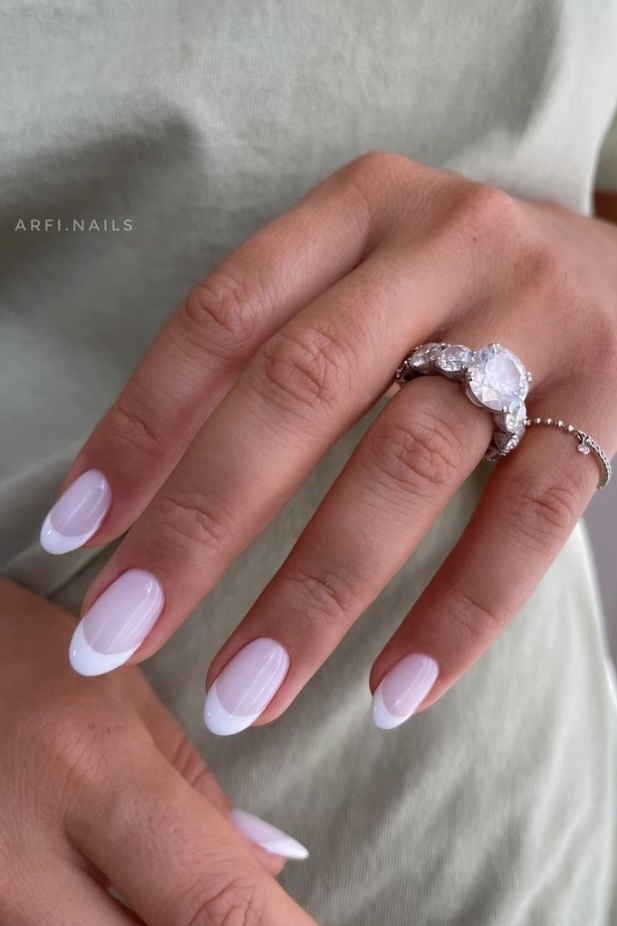
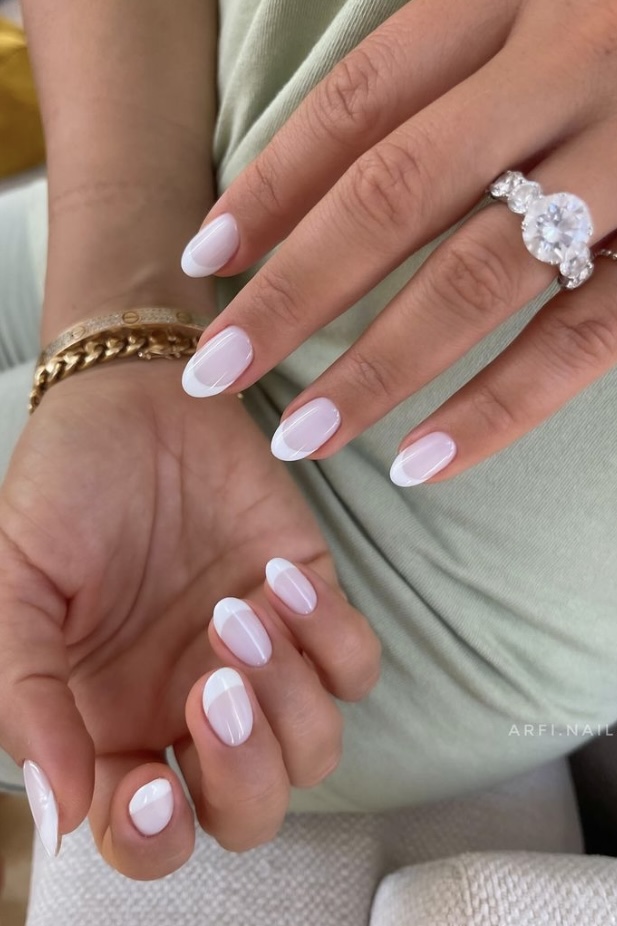
-Nail polish in the desired color. Choose a light pink or nude shade for the classic french look. This can be either a sheer or opaque polish, depending on your preference. It could be also shimmery, matte or glossy- it’s all up to you!
-White gel polish. To create the stark contrast between the tips of your nails and the rest of them, you’ll need a white gel polish. The brush on these polishes is usually a little narrower than with regular polishes, so you can get the tips of your nails painted perfectly.
-Top coat. A good top coat is essential for any manicure, and it’s especially important for gel french manicure to ensure that your polish lasts as long as possible. Look for a top coat that dries quickly and doesn’t leave a sticky residue.
-UV or LED light. It’s essential to have a light source to cure your gel polish. LED lights usually cure polish much faster than UV lights, so if you have the option, go for an LED one.
-Nail file. A good nail file is key for keeping your nails neat and tidy- especially when they’re coated in gel polish!
-Buffer. A good buffer is key for creating a smooth surface on your nails before you apply your polish.
-Cuticle pusher. This little tool is invaluable for pushing back your cuticles and keeping them healthy and tidy.
That’s everything you need to get started with your gel french mani! Be sure to stock up on all of these supplies before you get started. Now that you know what to look for when choosing your gel french manicure supplies, let’s create the perfect gel french manicure!
Step One: Prepare Your Nails
The first step in creating a gel french manicure is to prep your nails. Start by filing them into the desired shape, and then use a buffer to smooth out the surface. Next, apply a base coat to each nail. This will help your polish adhere better and will also protect your nails from staining.
Step Two: Choose a Perfect Color
Once your nails are prepped, it’s time to choose your polish color. For a traditional french mani, we recommend using a light pink or nude shade with white color for French tips. However, you can get creative with this style and use any color you like! Just make sure that the two colors you choose contrast well with each other.
Step Three: Apply a Base Coat
Before you start painting, it’s important to apply a base coat. This will help your polish adhere better and will also protect your nails from staining. Dry your nails completely before moving on to the next step.
Step Four: Paint the Nails
Once the base coat is dry, take your chosen color and paint each nail with two coats of polish. Make sure to let each coat dry completely before moving on to the next one. If you happen to get any polish on your skin, be sure to wipe it off with a cotton ball. This will help keep your skin looking neat and tidy.
Step Five: Paint your Tips
Using a thin brush, paint the tips of your nails with the desired white color. Be careful not to get too close to your cuticles, or you’ll end up with messy-looking French tips. Also, make sure to paint each nail evenly. Allow this coat to dry completely.
Step Six: Seal in the Polish
Once your nails are dry, apply a top coat to help seal in the polish and protect your nails from chipping. This will also help your polish last longer and will keep your nails looking glossy and polished. Let this coat dry completely before you go about your day.
You’re now ready to show off your beautiful new French manicure! Don’t forget to apply hand cream regularly to keep your hands looking soft and hydrated. Hopefully, this guide has helped you figure out the best way to achieve perfect French tips at home.
Remember, practice makes perfect, so don’t be discouraged if your nails don’t look perfect the first time around. With a little bit of patience and some helpful tips from this guide, you’ll be able to create beautiful gel French manicures like a pro!
Subscribe to my Free Newsletter below. I will keep you updated with the latest fashion & beauty trends every season.